I certainly don’t claim to have deep personal history with barbecue (relatively speaking) but I know that the roots of barbecue techniques lie in being able to take tough and cheap cuts of meat and turning them into something succulent through the magic of ‘low and slow’. Beef cheeks certainly fit into this category.
Enough talk! Jump straight to recipe.
On their own, beef cheeks are a gnarly-looking cut with lots of silver skin, extraneous fat, and cartilage. They are the polar opposite of a neat and tidy tenderloin steak. But if you and your ‘book-cover-judging’ tendencies can get past that gnarliness, they also naturally have some incredible marbling and - cooked the right way - all those gnarly bits transform into velvety and unctuous bites. Seriously, these are tender as a mother’s love.
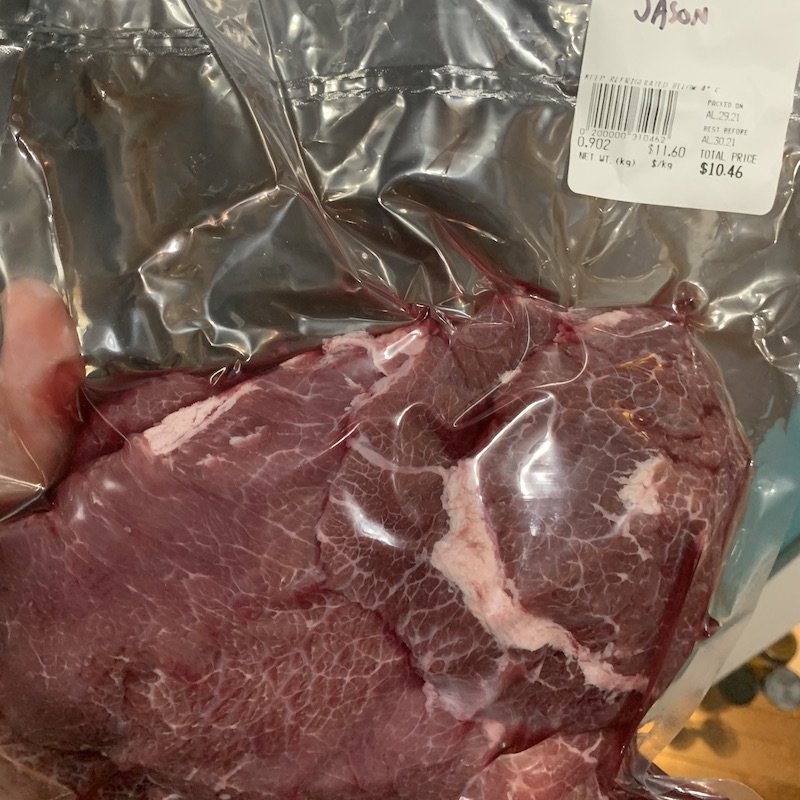
The pack that I got actually came beautifully trimmed. You will see recipes on YouTube that tell you to do a yeoman’s worth of trimming work but I don’t think it’s necessary. Even if mine didn’t come trimmed like this, you can get away with only taking off the most offensive pieces and leave most of it on (including most of the silver skin). By the time these cook down and get shredded up, it’ll all incorporate nicely and it will save you a ton of prep work. But, if you want to take that time and trim them down, you ain’t hurting’ nobody.
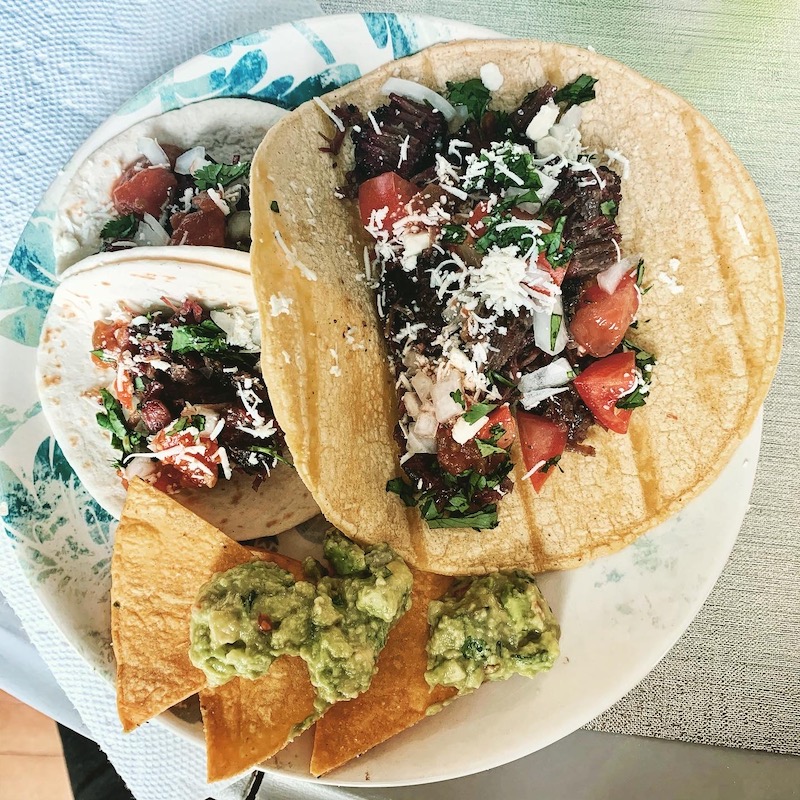
For our meal, we did barbacoa tacos. Traditionally these are a full head of an animal (usually cow / lamb / goat) that is slow cooked - in a pit in the ground if we’re keeping it real - and then all pulled and mixed together. Beef cheeks are a simplified version of that. We just happen to love tacos but there is no shortage of ways to use this stuff. It can be be sliced, pulled or chopped. It can become a star of tacos, sliders, nachos, frito pies, hash, and all sorts of other great options. So I will leave all those ingredients off this recipe and leave that up to you.
As for the actual cooking process, there are two important cooking steps. The first is developing a healthy, crunchy, smoky bark. The second is getting them tender through a braising process. That braising process is why we need that bark. We want to be able to finish with a firm exterior to contrast the velvety interior.
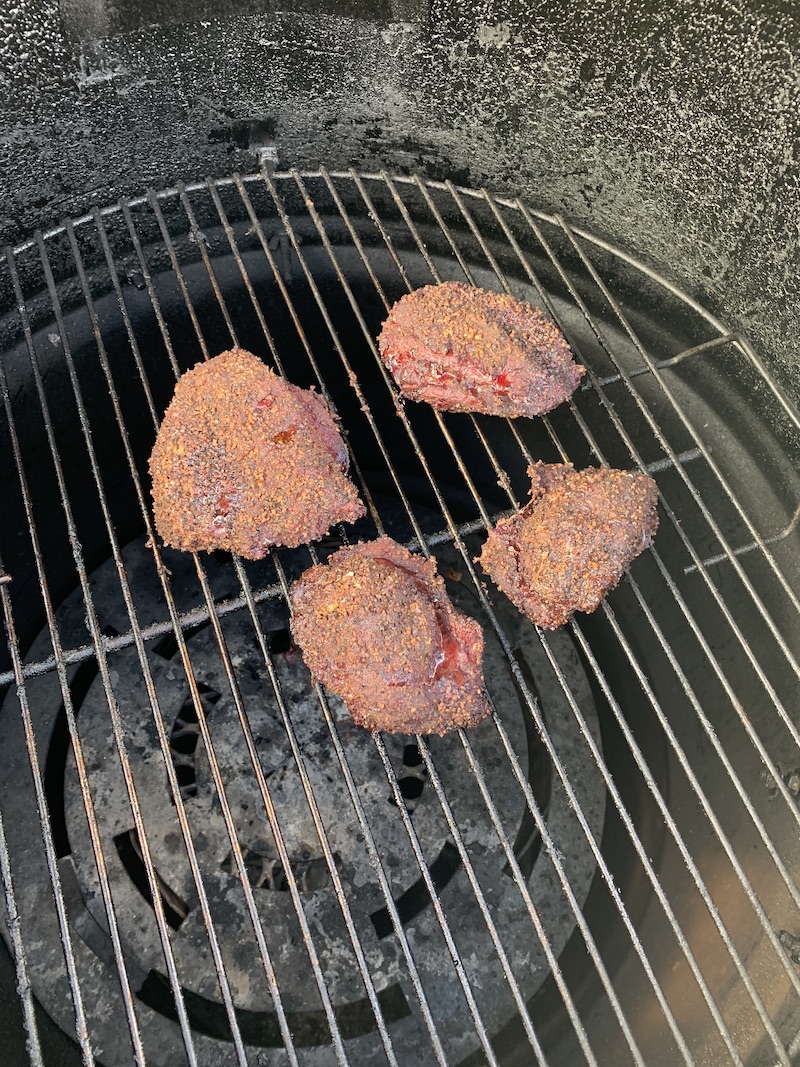
Knowing that step 2 is coming, we want to season liberally - just be careful with the amount of salt you use. If you use a typical 50-50 salt and pepper mix (on a brisket, for example), you can easily go 2 parts pepper and 1 part salt, and then add in whatever else floats your boat (paprika, garlic, brown sugar, etc). It will seem like a lot of pepper but after all the smoke and after the braise, it’ll turn out great. I actually went even lighter on the salt I added because I was compounding my salt and pepper mix with a commercial rub (which generally have plenty of salt as is).
As for the equipment, this was cooked on my UDS (ugly drum smoker - the Philly Special).
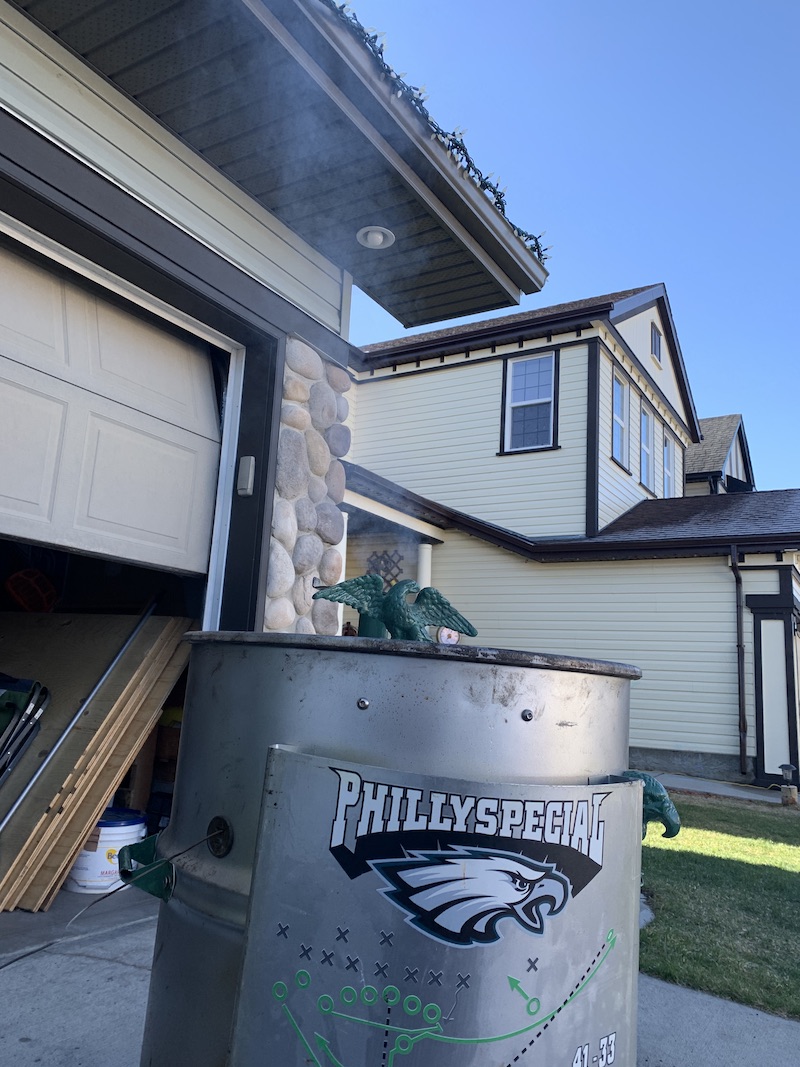 I think a cut like this works great for this kind of smoker. It is not a delicate cut so it can take all that smoke. It can also handle a bit of a higher cooking temperature. I wanted to cook these in the 275 range and my drum seems to like that 275-300 temperature. Plus, all that extraneous fat can drip on your coals and create it’s own flavourful smoke. But you can certainly do this on a pellet grill and it’ll come out great.
This was my first try using Springbok Braai charcoal, which was pretty great, actually. I tried the briquettes and they were huge briquettes, compared to what I’m used to so they lasted a long time and it smelled great. This was supplemented with some cherry wood - that’s just what I had on hand - but oak and hickory would also be great choices.
A note on the braising process. There is a food truck that I follow and is on my Texas BBQ Road Trip list called Leroy & Lewis. When they cook their beef cheeks and barbacoa, they do a full confit in beef tallow that they make from their brisket trim. I wholeheartedly endorse re-purposing bbq trim in general (and making beef tallow, specifically). Meat is too expensive and we really owe it to those glorious animals to use whatever we can. Plus it is more responsible and more cost-effective.
Anyway, I used the last bit of my beef tallow I had but needed to supplement it with stock for my braising step. You can do all stock or all tallow or a mix, depending on what you have on hand.
Lastly, the recipe shows what I cooked - a ~2lbs package. The next time I do this, I will definitely double or triple the amount of meat. It freezes really well and it just makes more sense to utilize the available cooking space if you’re going to do something that takes 6-8 hours.
On to the recipe!
RECIPE
Meat
- 2 lbs beef cheeks, trimmed or not.
Rub
- 2:1 mix of coarse pepper and kosher salt
- your favourite BBQ rub (I used Tumbleweed from Prairie Smoke & Spice)
Braising Liquid1
- ~1 cup stock (beef ideally, but chicken/veg is fine too)
- 1 cup beef tallow
1For the braising liquid, you’ll want to cover 1/2 to 2/3 of your beef cheeks, so the amount will depend on the pan you’re using. I squeeze mine into a smallish square foil pan.
Directions:
- Start your bbq of choice and aim for 275 degrees.
- Trim your cheeks as much or as little as you like. If you end leaving more trim on, you’ll want to make sure that it is well-cooked down during the first unwrapped phase.
- Season liberally with your rub. Remember, the first goal is to create a kick-ass bark. And it is going to soak in a liquid for several hours, so you’ll inevitably lose some seasoning.
- Allow cheeks to sweat for 10 minutes or so to let the rub adhere and place on smoker.
- Let cook for about four hours. There isn’t a need to spritz, you can just let it ride.
- Your target internal temperature is probably in the 170 degree range but, again, the goal here is a really well developed bark so focus on how it looks and feels and less on temperature. It’ll be dark and really well set (i.e. the rub doesn’t come off if you were to rub it with your finger) but it’ll still be tough and tight. Mine came off at about the 3.5 hour mark, but my smoker was running a little hot for a good portion of the cook. 4 hours at 275 should work well.
- Set into a foil pan and add your braising liquid. You can throw in some onions at this stage as well if you like.
- Cover and put back on smoker for another 3 hours.
- If you have your meat only partially covered (as I did), you can flip them once or twice throughout this stage.
- Knowing when they’re finished is a little tricky. Because cheeks have so much collagen in them, you’ll want to take these further then you would say, a brisket. Shoot for that “probe goes in like butter” feel and then go a little further. I’d say at least 205 degrees as a guide.
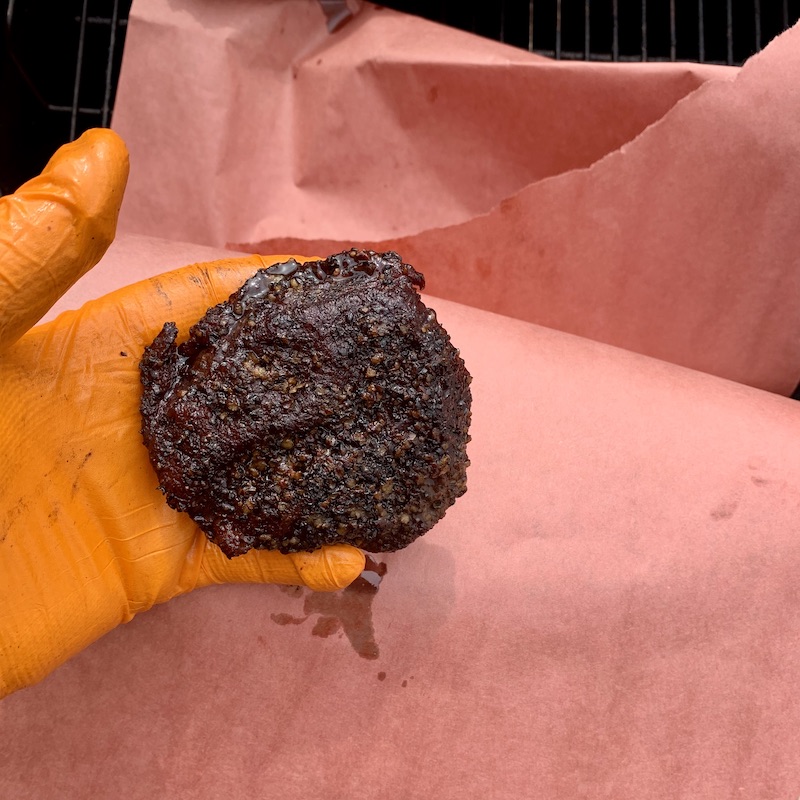
- Then you’re going to want to give these a nice rest (at least an hour). Because I had mine submerged in (partly) beef tallow, I wrapped the cheeks in butcher paper and put them in our oven at the ‘warming’ setting. I wanted the butcher paper to soak up a little excess fat.
- Finally, you can prep the cheeks to your desire. I ‘chopped’ mine, but most of that was giving them a satisfying squeeze and they just fell apart. Like this: